For part 1 of this project, click here.
This is the final chapter of my Apocalyptic Fixie Build Project.
Now I can begin dreaming of another one (just kidding, my wife is approaching melt down mode with all my bicycles).
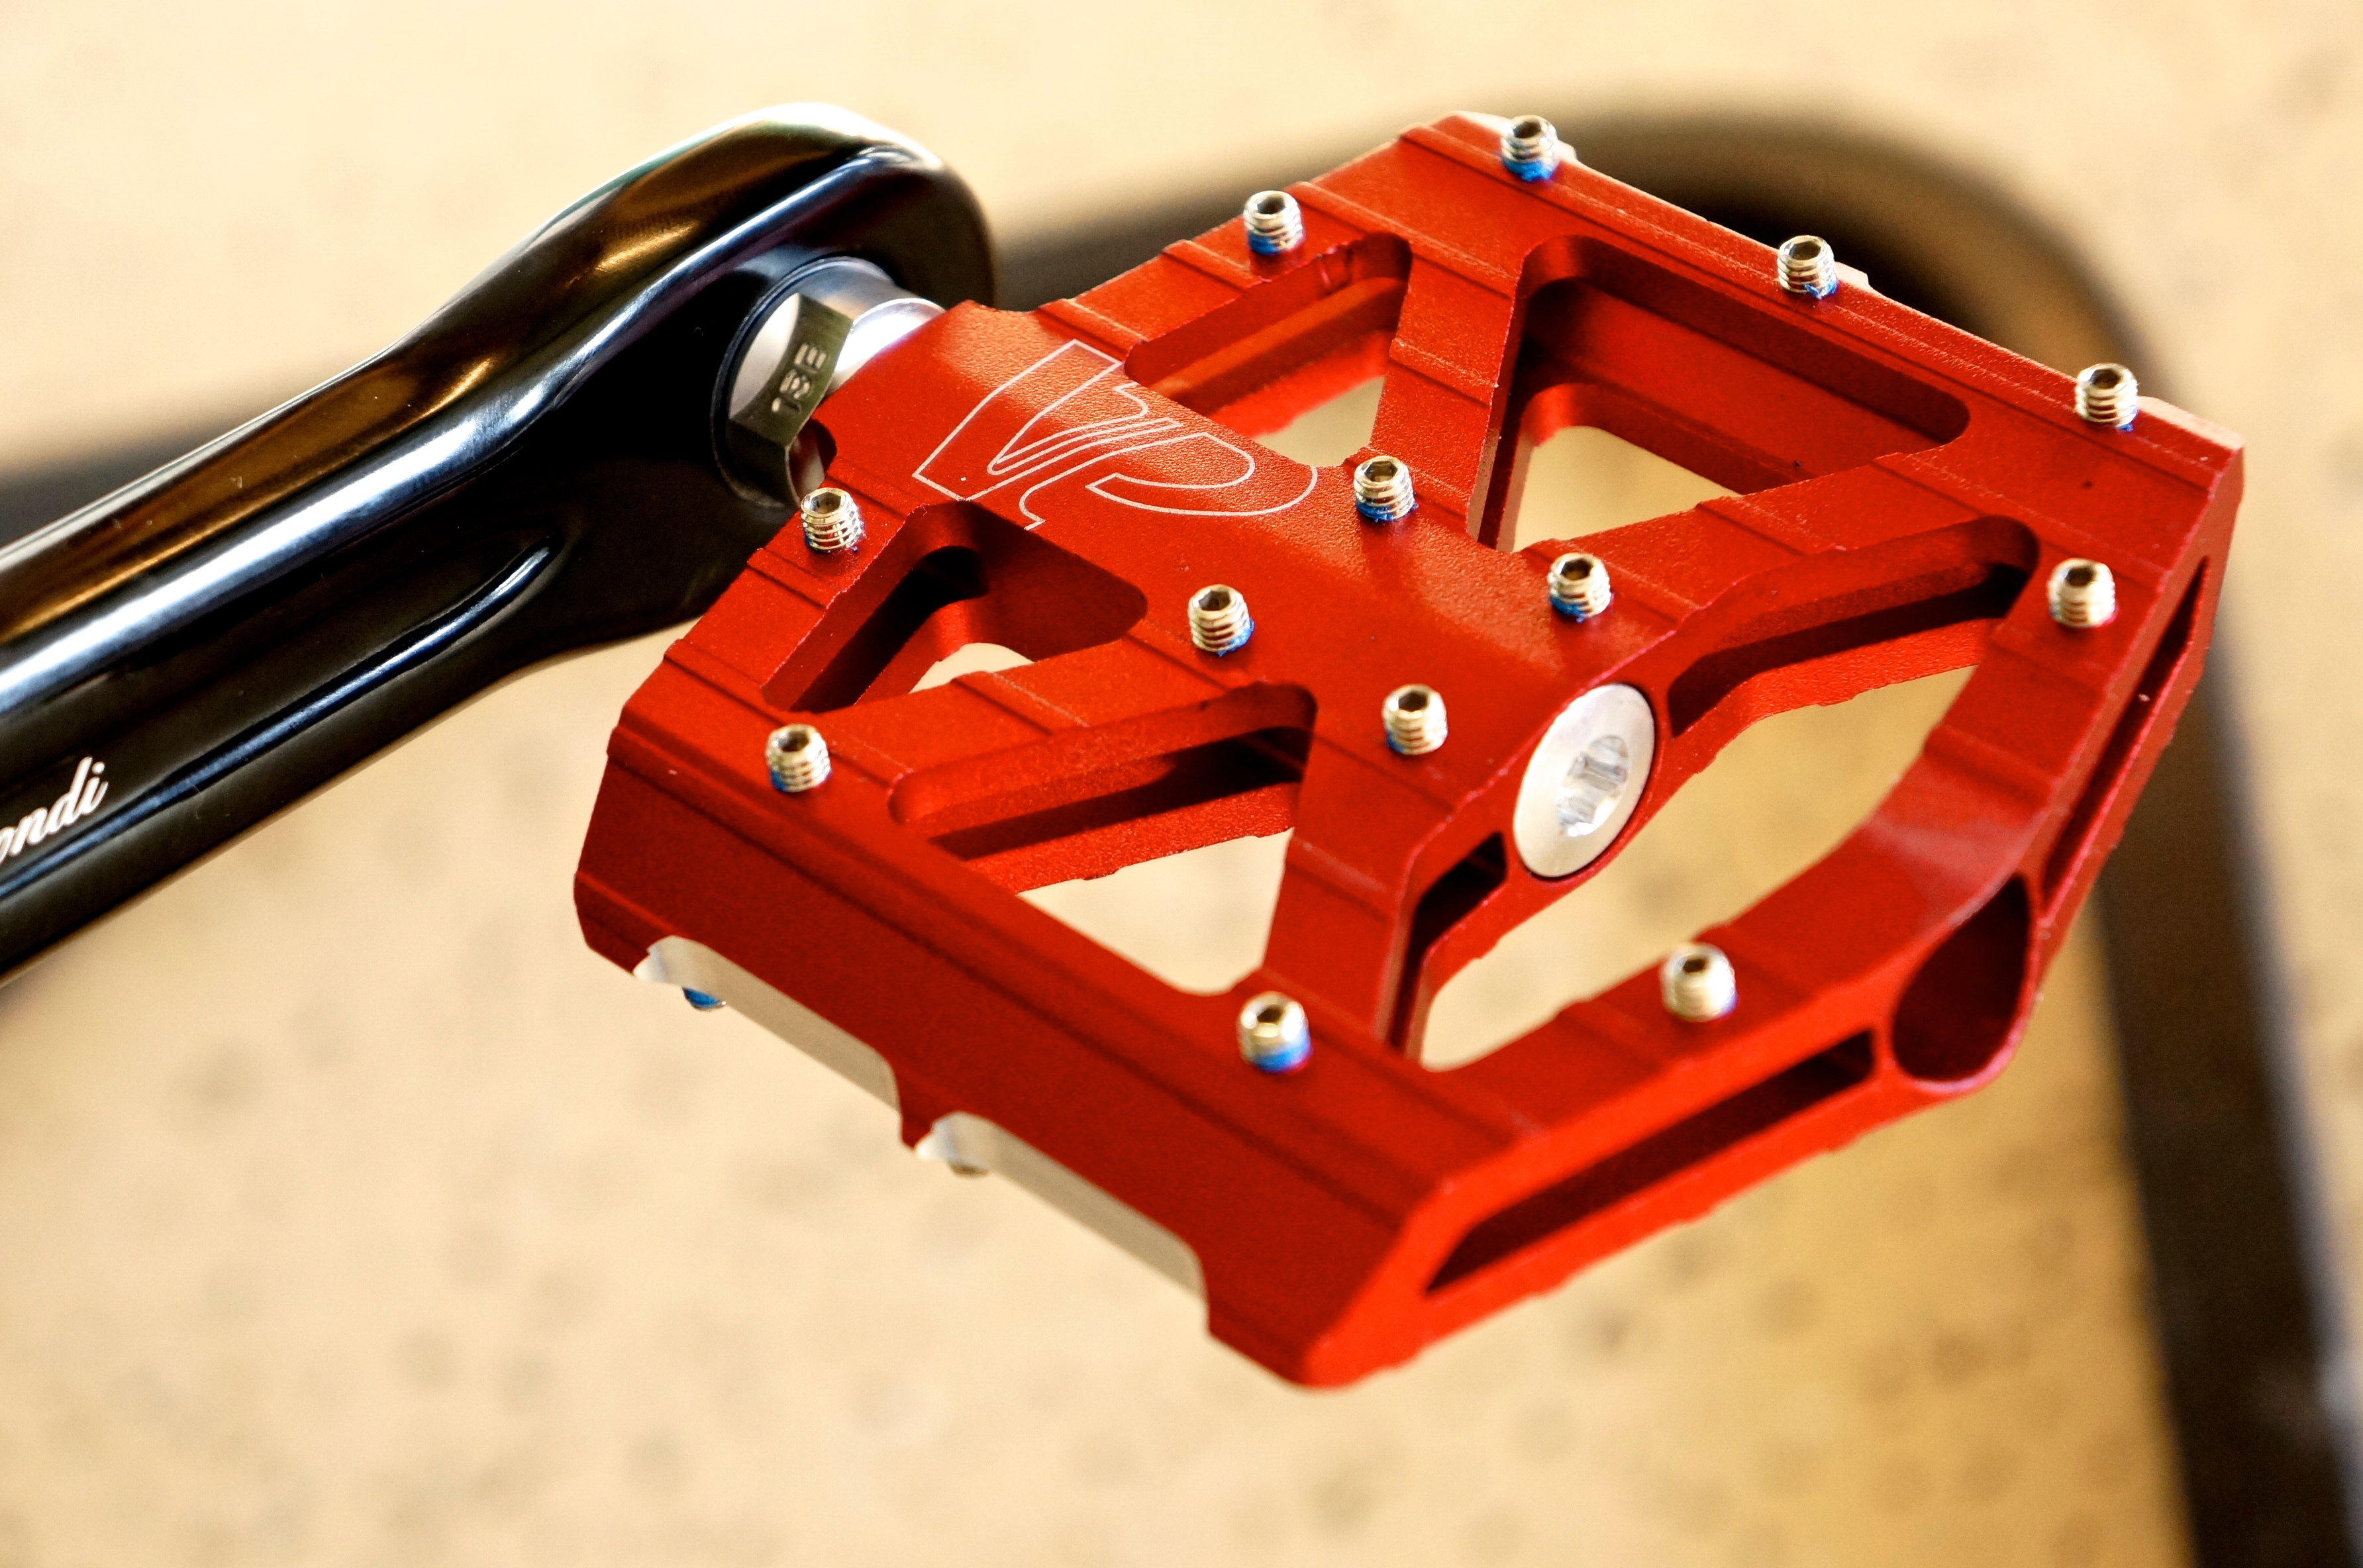
Let’s start with the pedals.
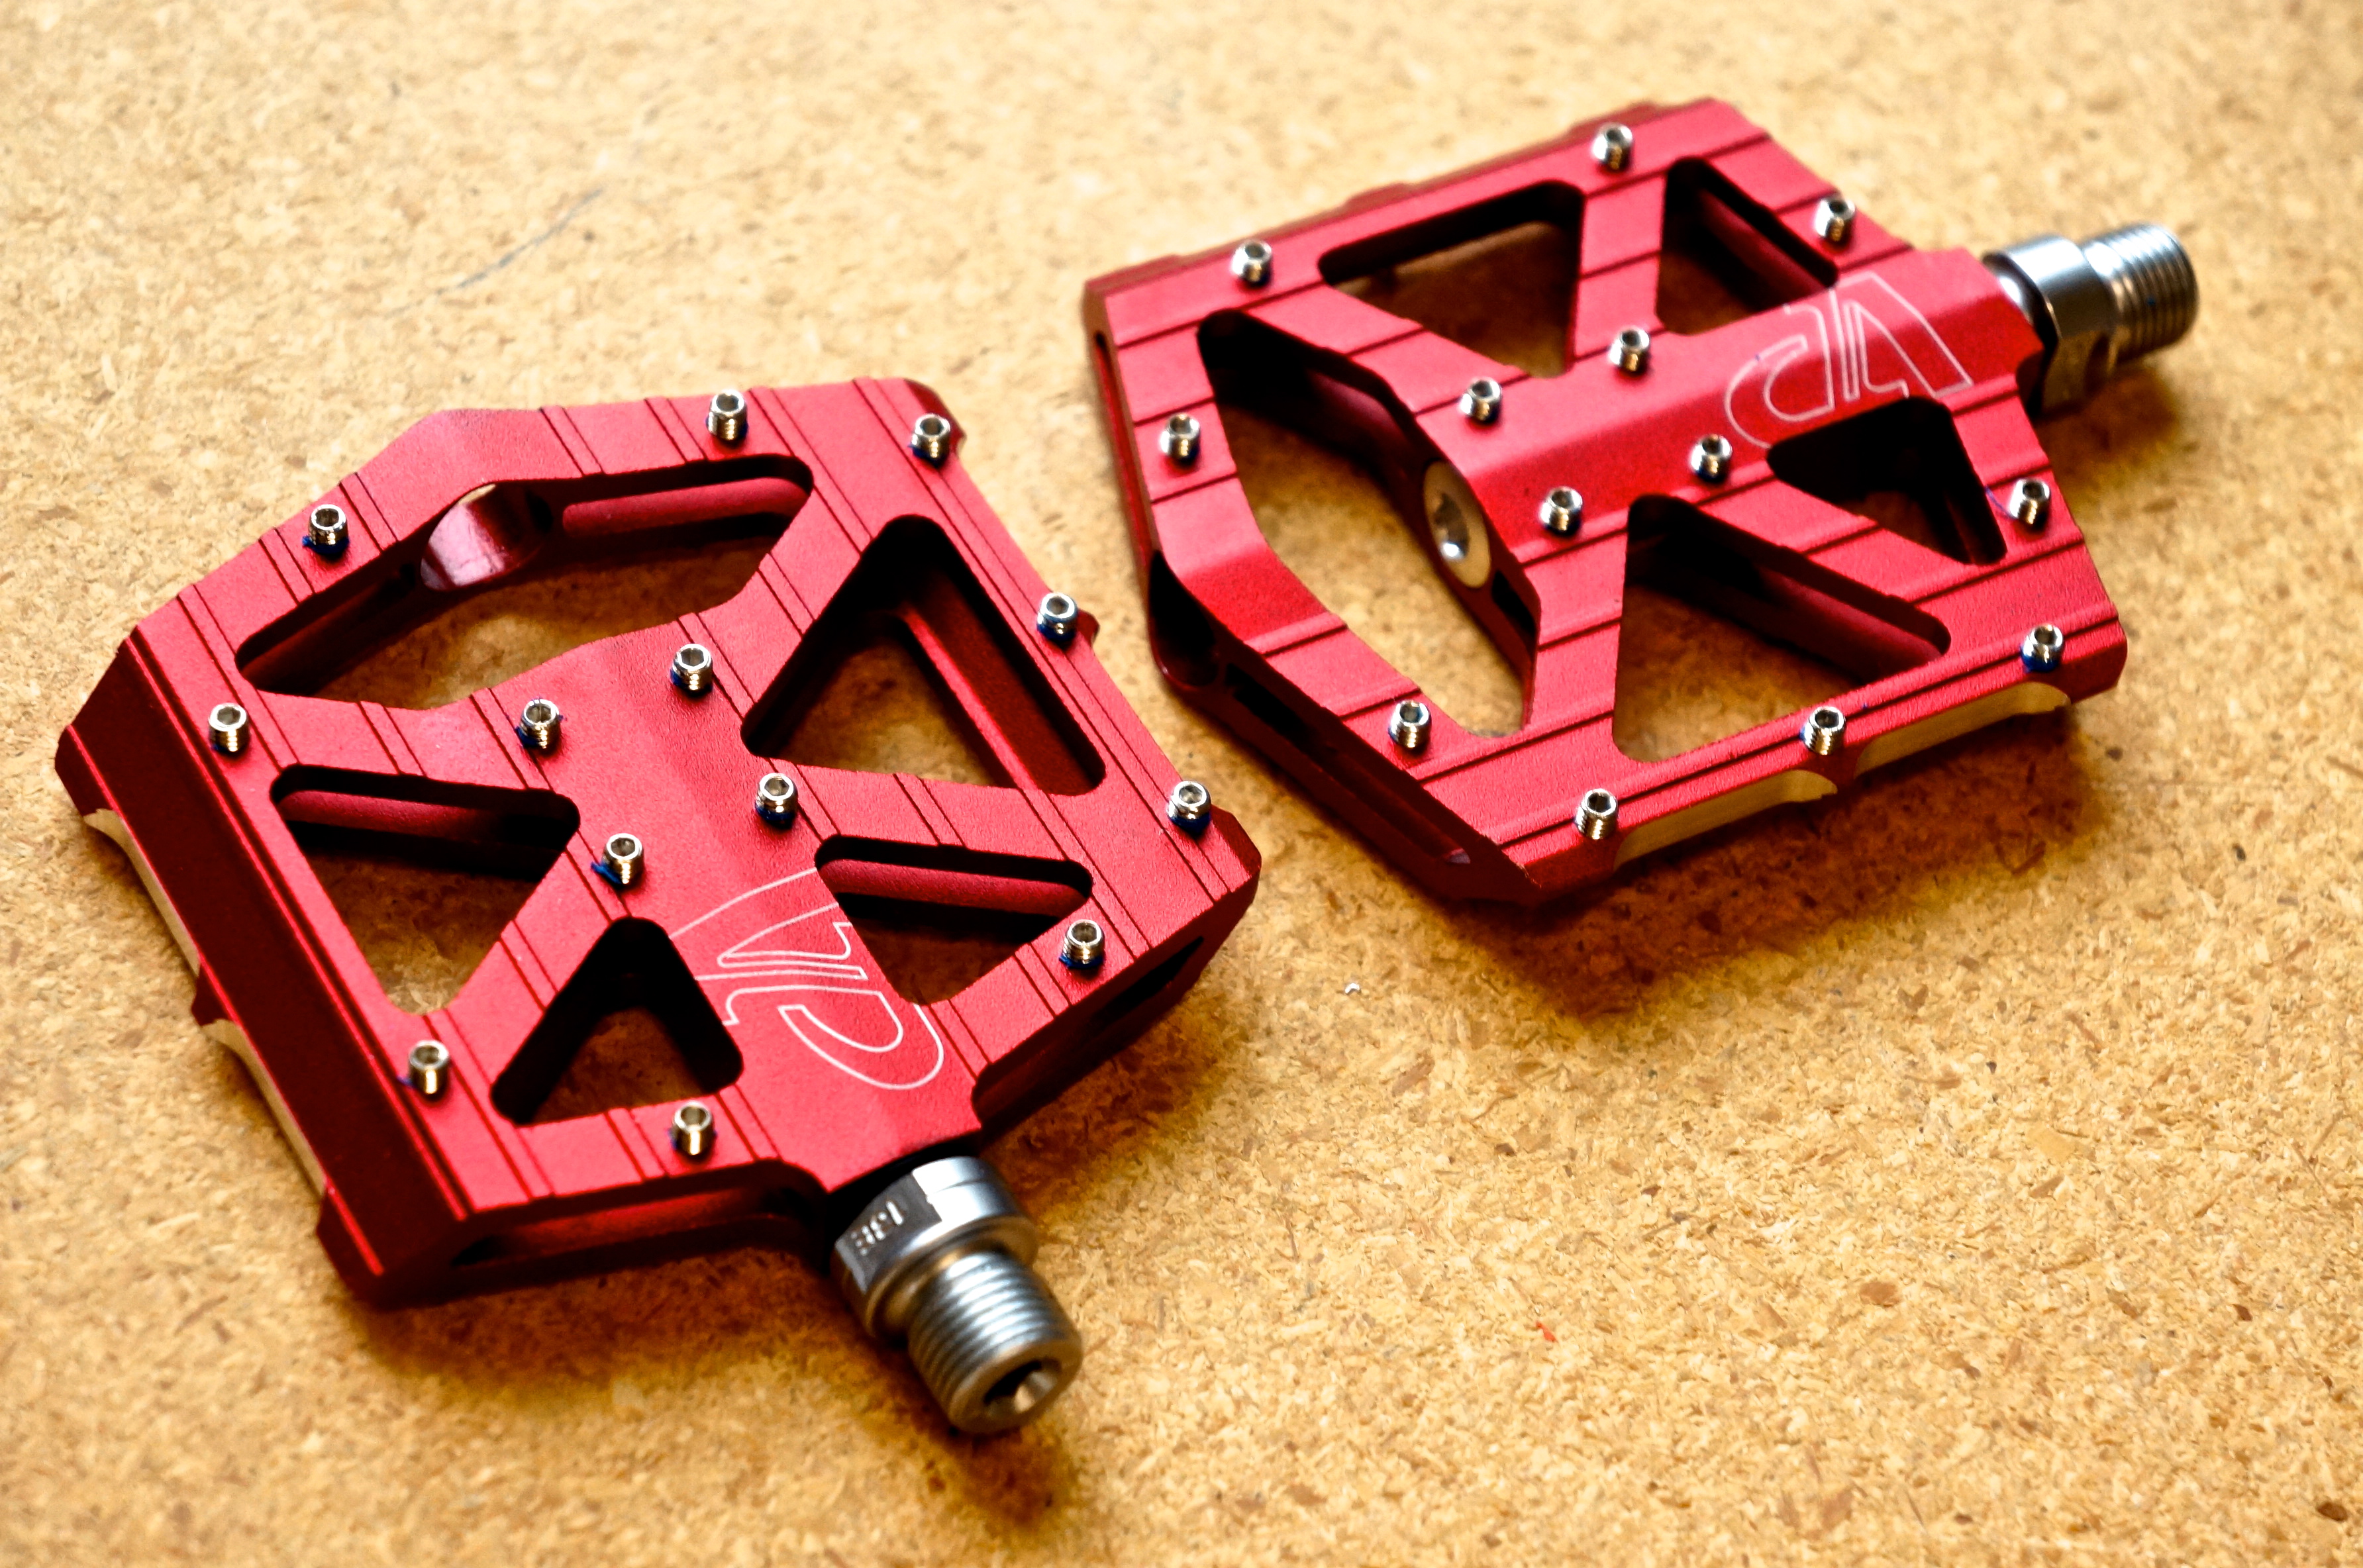
VP pedals are simple, well built, affordable and even accept toe straps for added security.
I love platform pedals for this type of riding. If your read my Skill builder in the Big Holes you know what can happen when you don’t use the right type of pedals. These VP pedals are light, affordable and bombproof. The grip is outstanding and there’s very little to go wrong.

In keeping with fixie tradition, I installed a square tapered bottom bracket and square tapered cranks. These are strong, practical and can be found everywhere for easy replacement.

42 tooth fixie crank set by F. Gimondi.
There is a valid argument for using a dedicated fixie chainring as opposed to utilizing an old mt. bike chainring. The fixie chainring will have deeper teeth without the off ramp tooling found in modern chainrings. This means the chain will sit deeper into the teeth and be much less prone to coming off. It can be very dangerous to throw a chain on a fixie, as your rear sprocket will not stop turning until you do. Add a huge safety margin and use a dedicated fixie chainring.

I couldn’t build the wheels for the price I could purchase them.
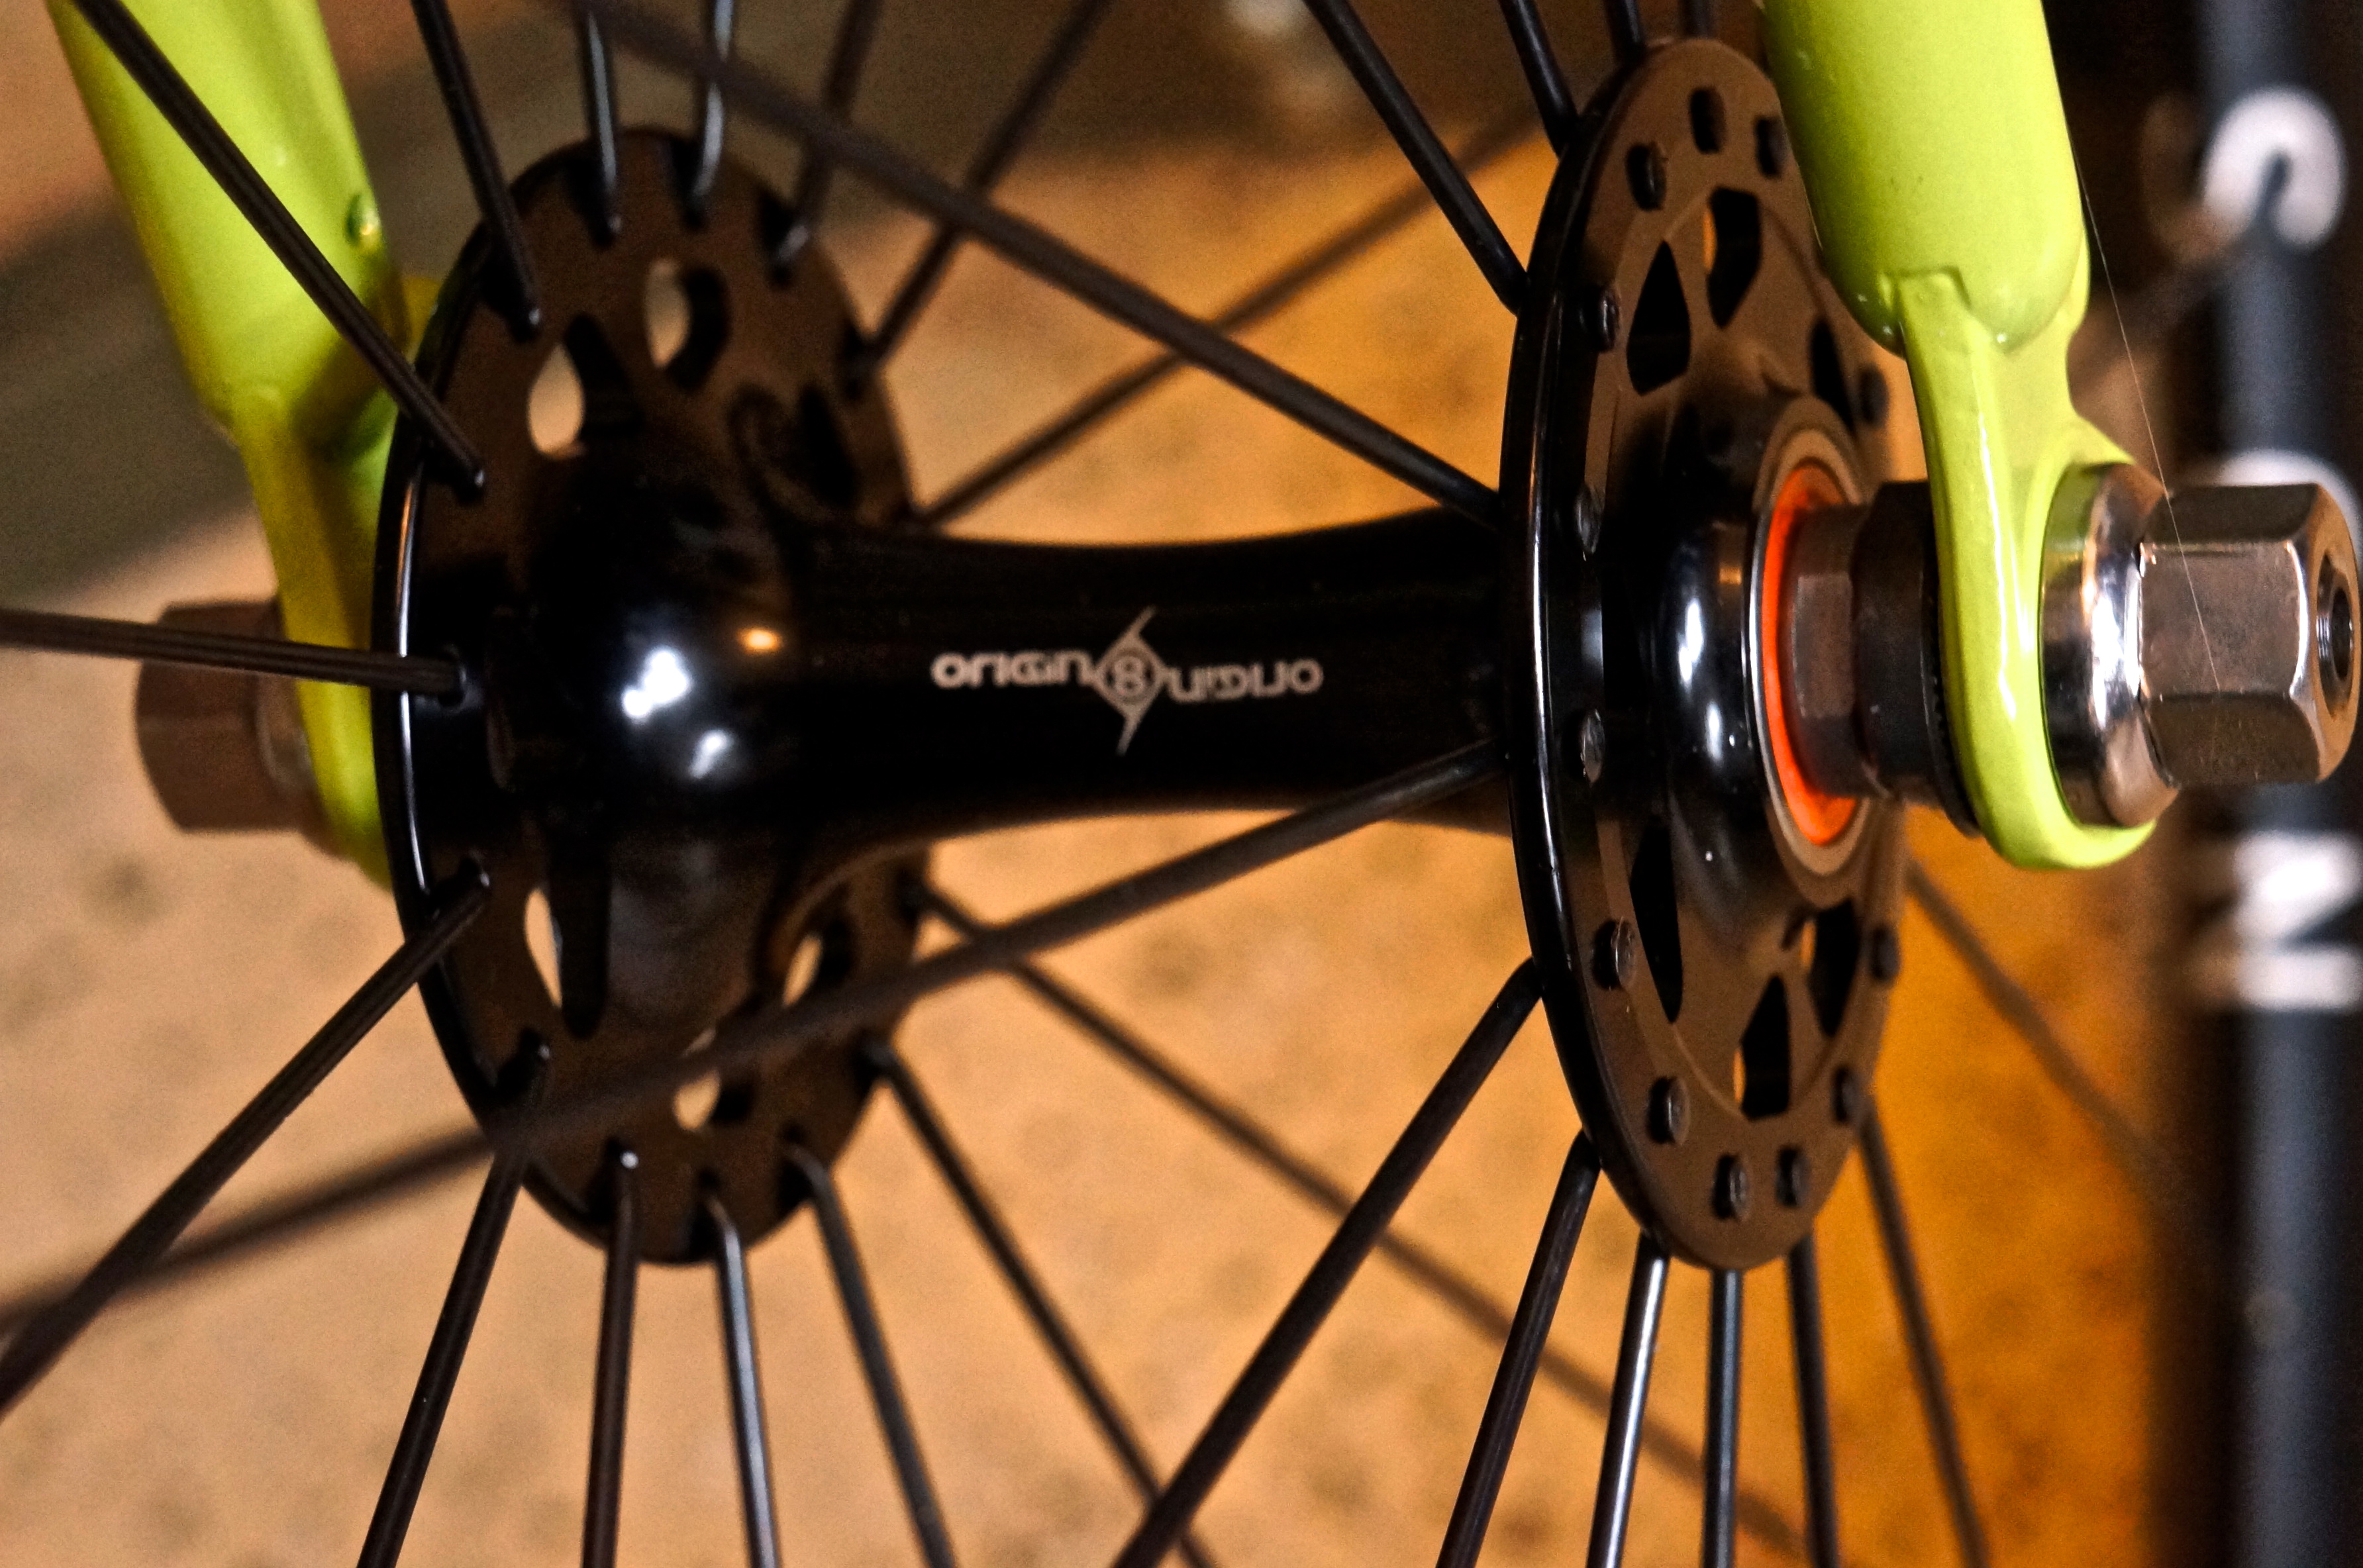
Velomine had exactly what I wanted and at a very affordable price. Origin 8 (Formula) hubs with traditional window cutouts on the hub flanges. I really wanted silver, but had to settle for black.
H Plus Son Archetype rims (23mm wide to spread the tire out).
This is a terrific gravel wheelset. Serviceable, strong and affordable.

Fixed, fixed rear hub.
One of the things I really liked about this particular hub, was the fact I could get it in a “fixed/fixed” configuration. This allowed me to run two different gears on each side of the hub with the mandatory lockring. Most hubs come “flip/flop” hub which is fixed on one side and single speed compatible on the other. This is not what I wanted, instead I wanted to be able to put a fixed gear on both sides of my hub. To change gears, I simply spin the wheel around. It takes 3 minutes and allows me to run two different gears (42 up front by 16/18 in the rear). This gearing is working well for me in most situations. I need more miles to completely confirm.

I rarely use a chain whip, but for this project it was essential.

Not wanting to buy a headset tool, I built my own (internet inspired).
This simple homemade tool worked just fine. All parts were purchased from Lowes for around $30.00. Just make sure the copper female fittings fit inside your head set cups.

All put together, it looks like this.
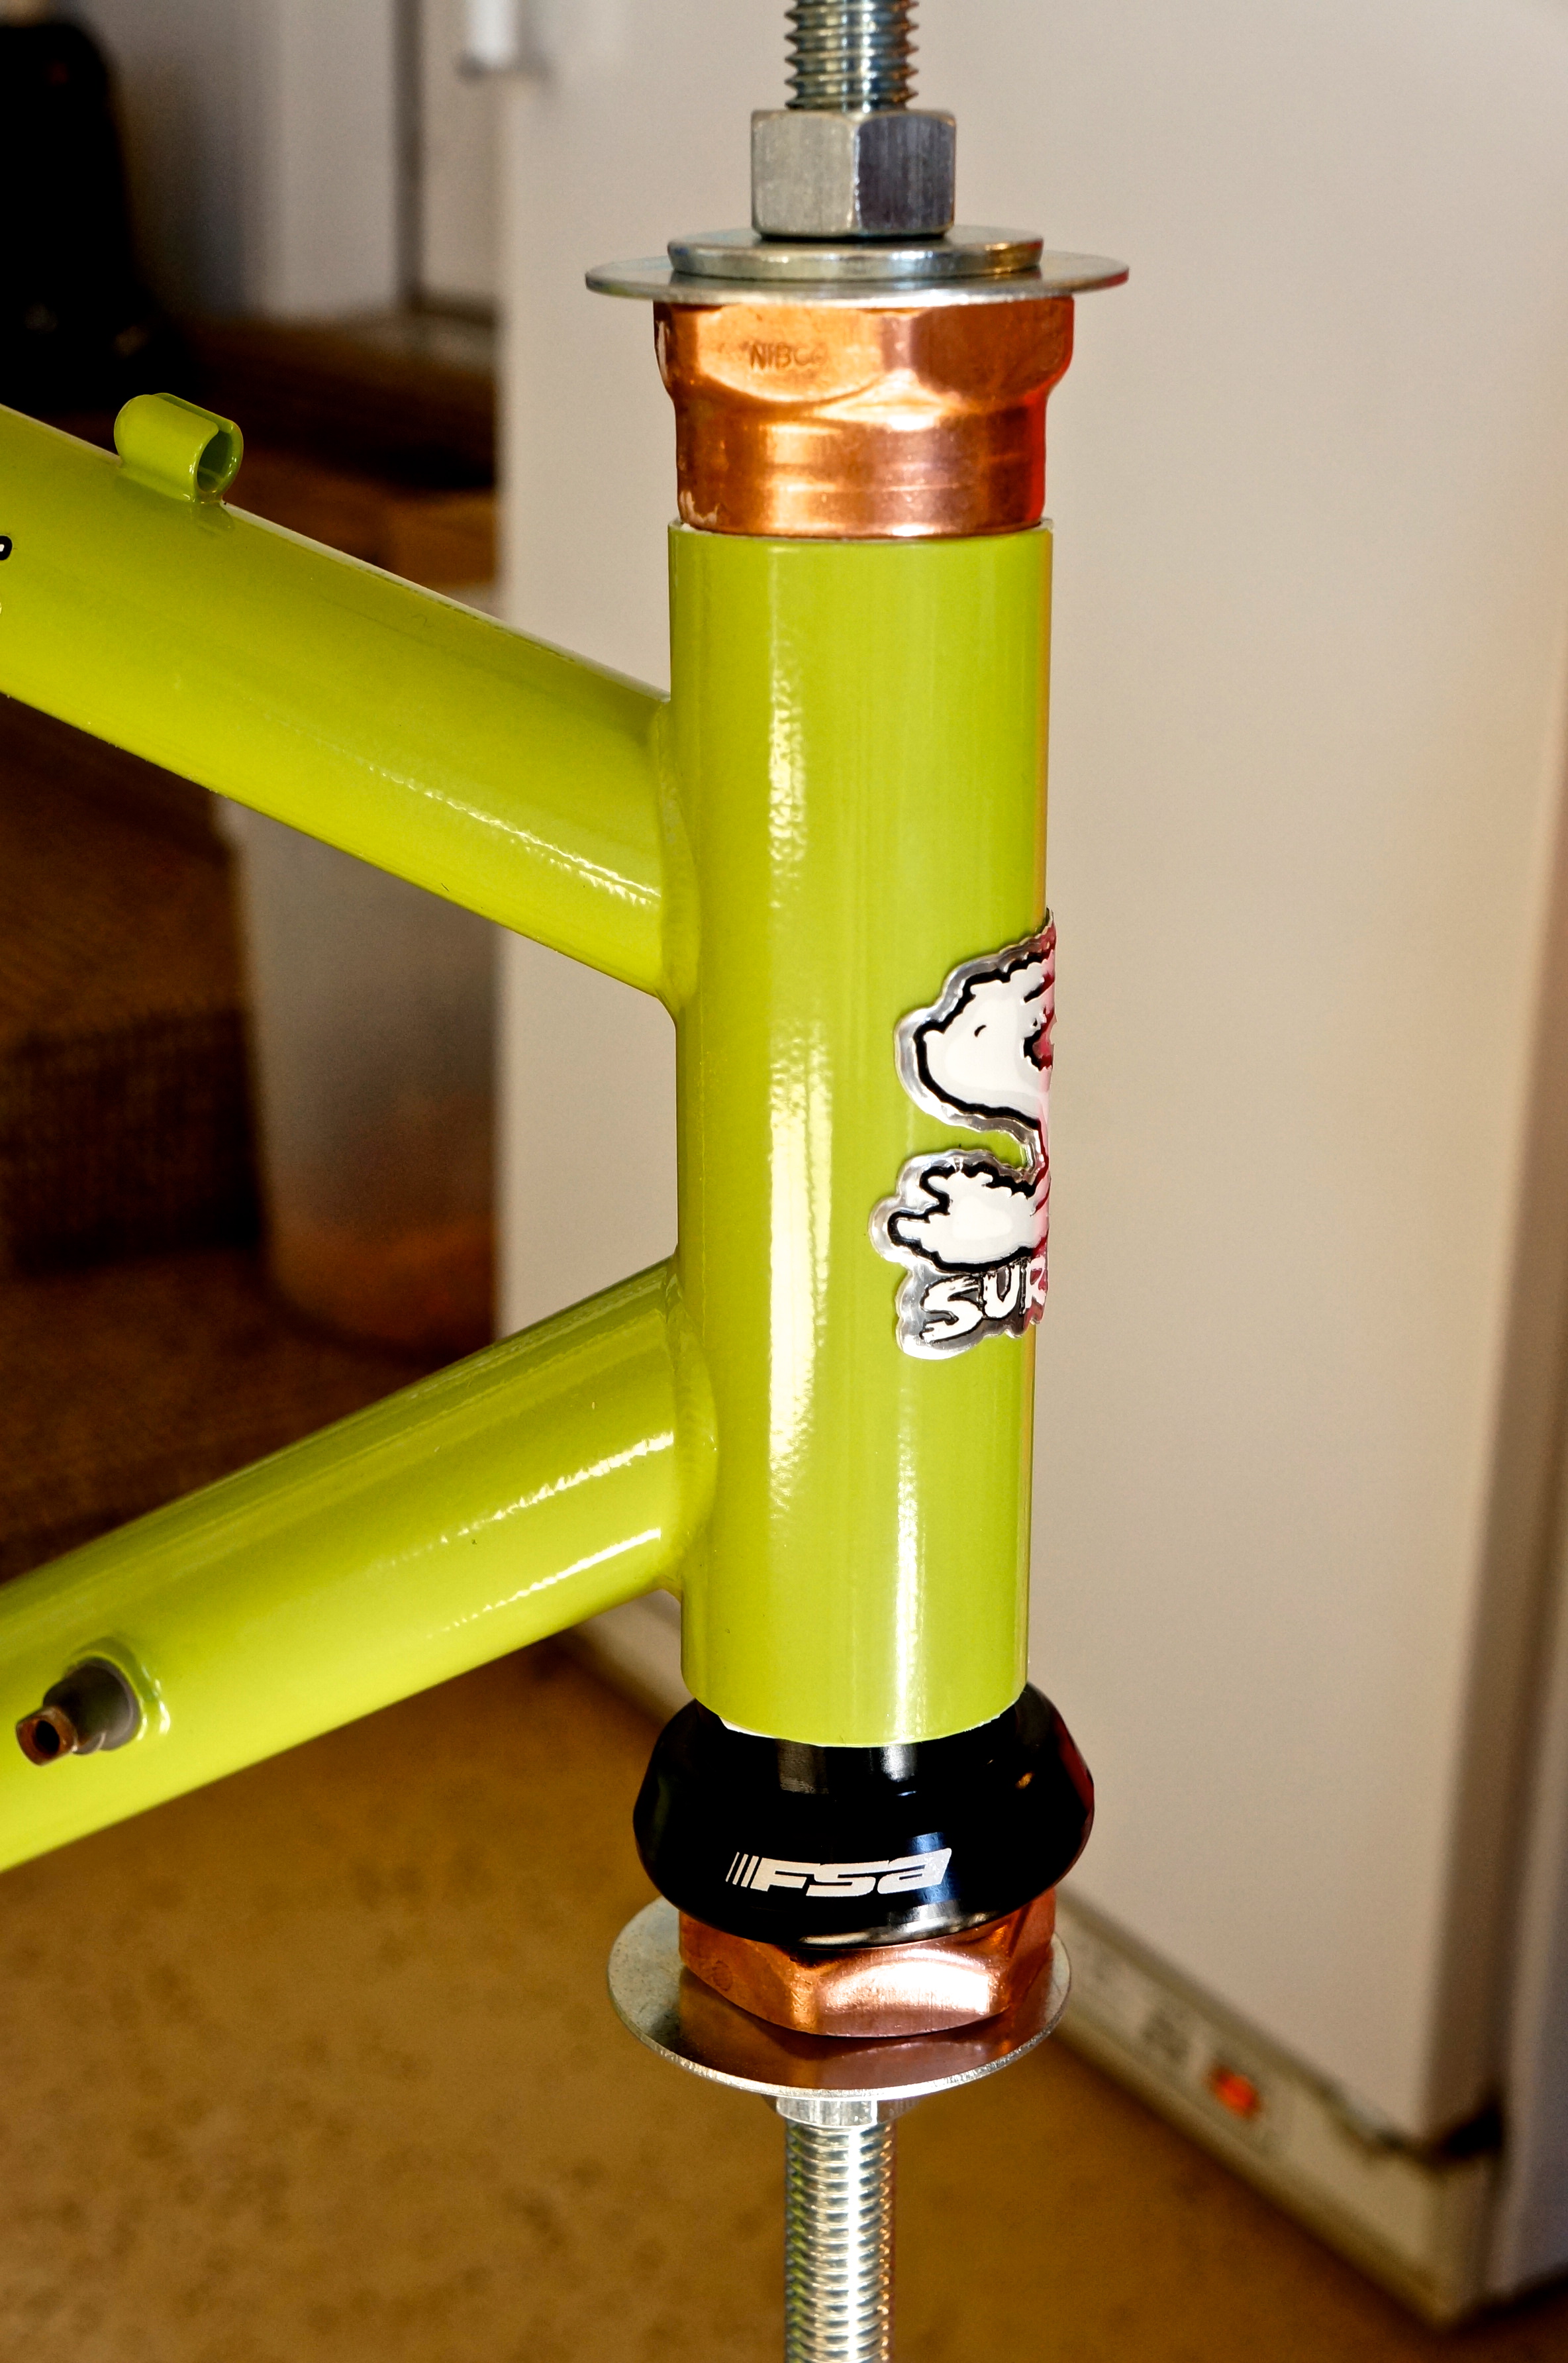
Pressing the bottom headset cup into the frame.
Simply tighten the nuts, while keeping things properly aligned.

Homemade headset crown race tool.
I used PVC to set the bottom bearing race onto the fork crown. This tool cost $12.00 and worked like a champ. I use a rubber mallet to strike the top end of the PVC. Do not place the fork on the ground, you will likely damage the dropouts. Instead, simply hold the fork in your hand. You’ll know when the race is tight against the fork crown, it will give off a nice pitch, like a tuning fork, and vibrate for several seconds.
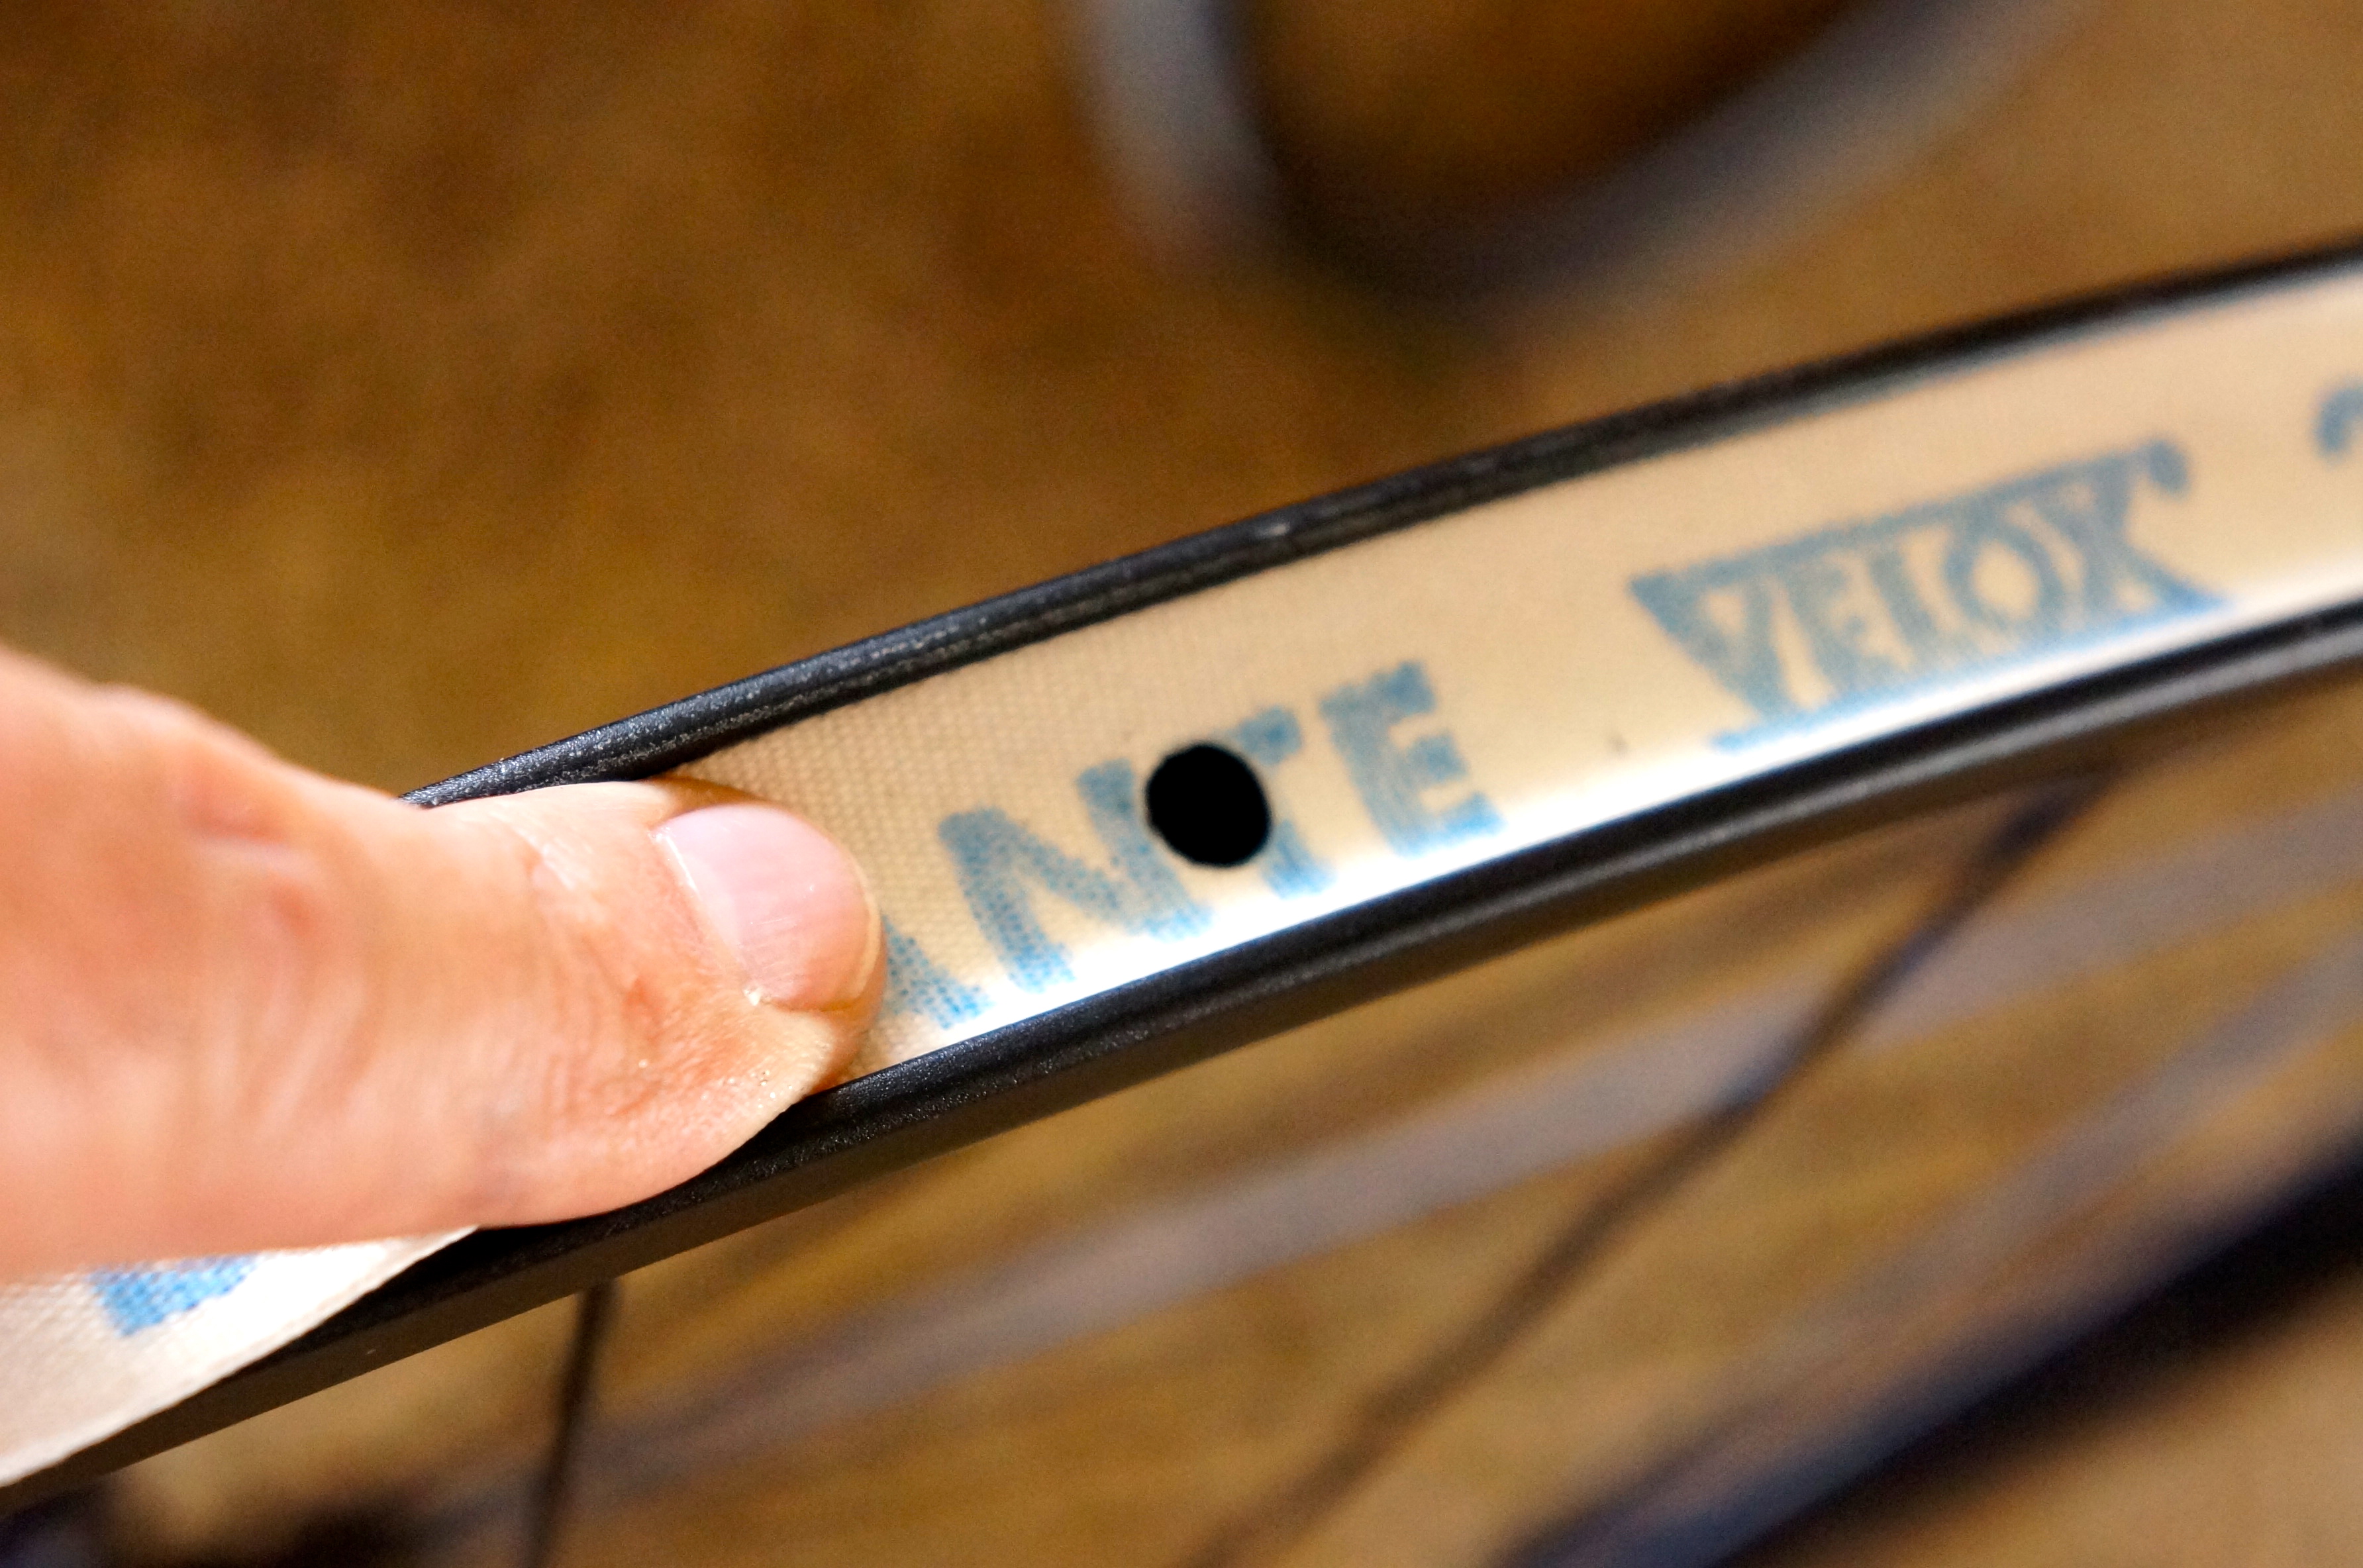
Traditional canvas Velox rim strip.

I love Clement X’PlOR MSO tires.
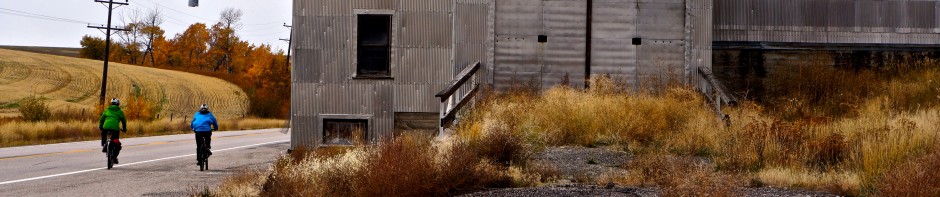
This tire offers a very smooth ride, is relatively fast on pavement and provides good float off road. With the wheels in place, it was time to set up the handlebar.
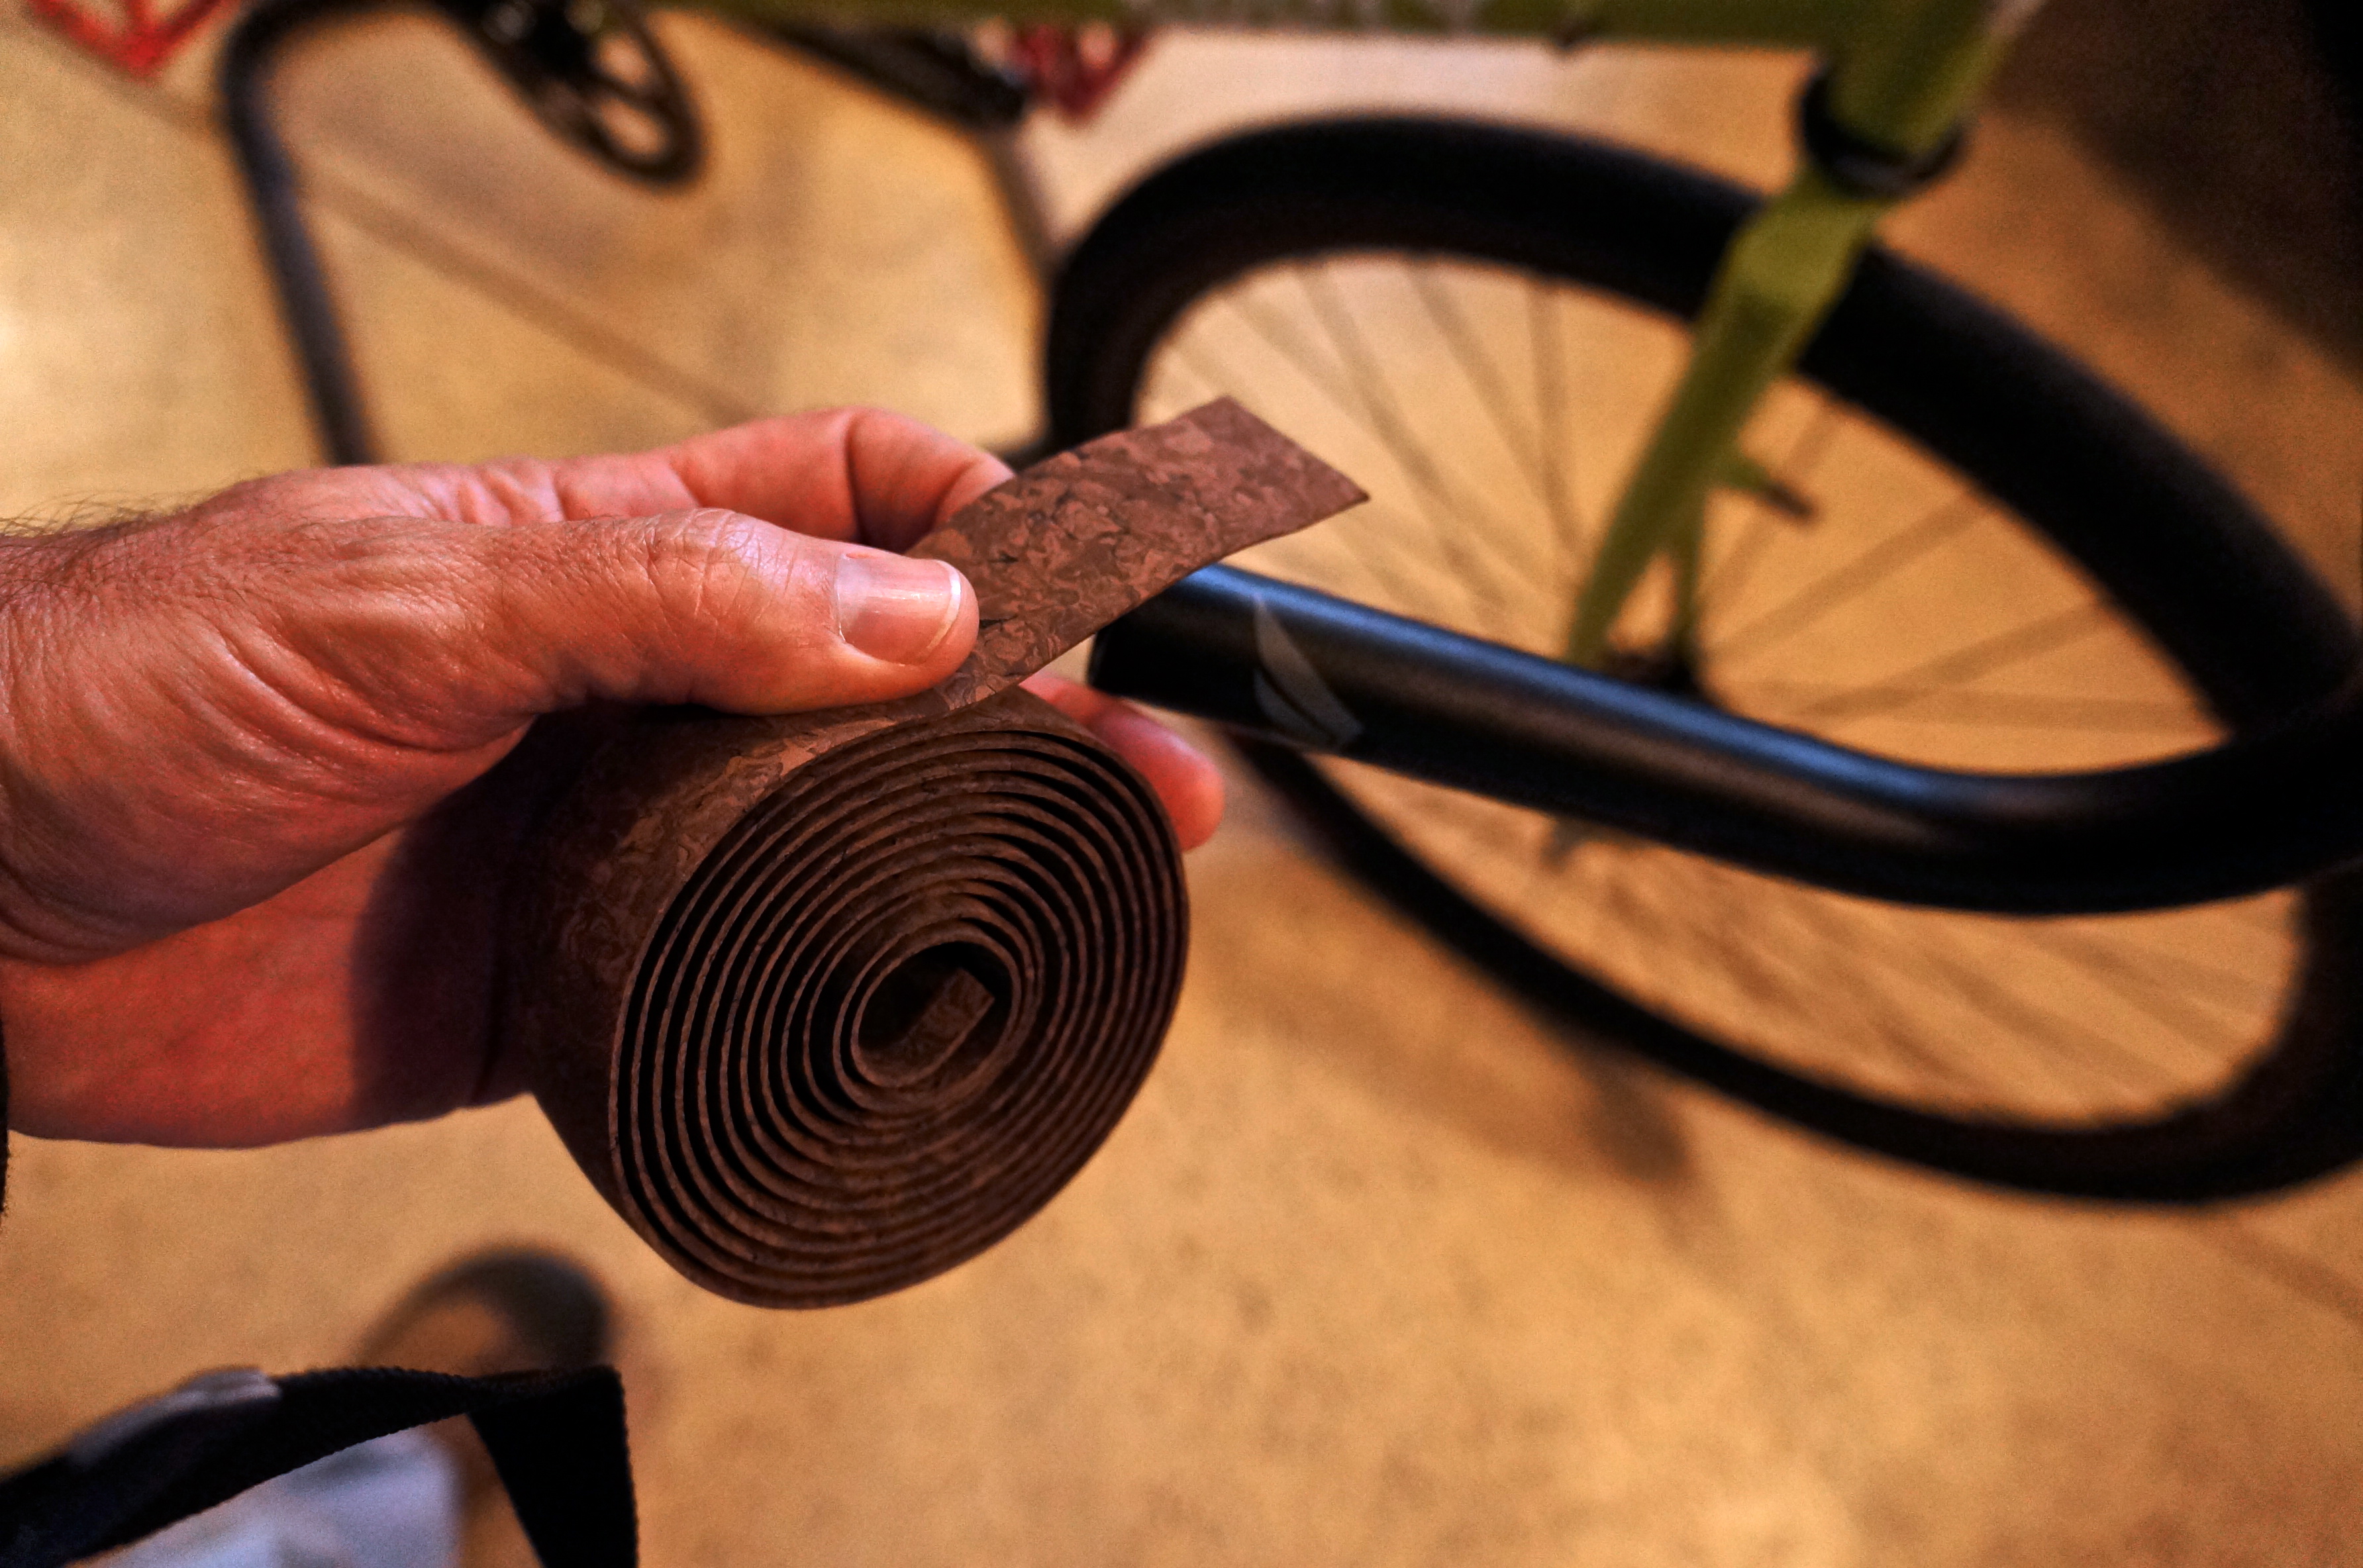
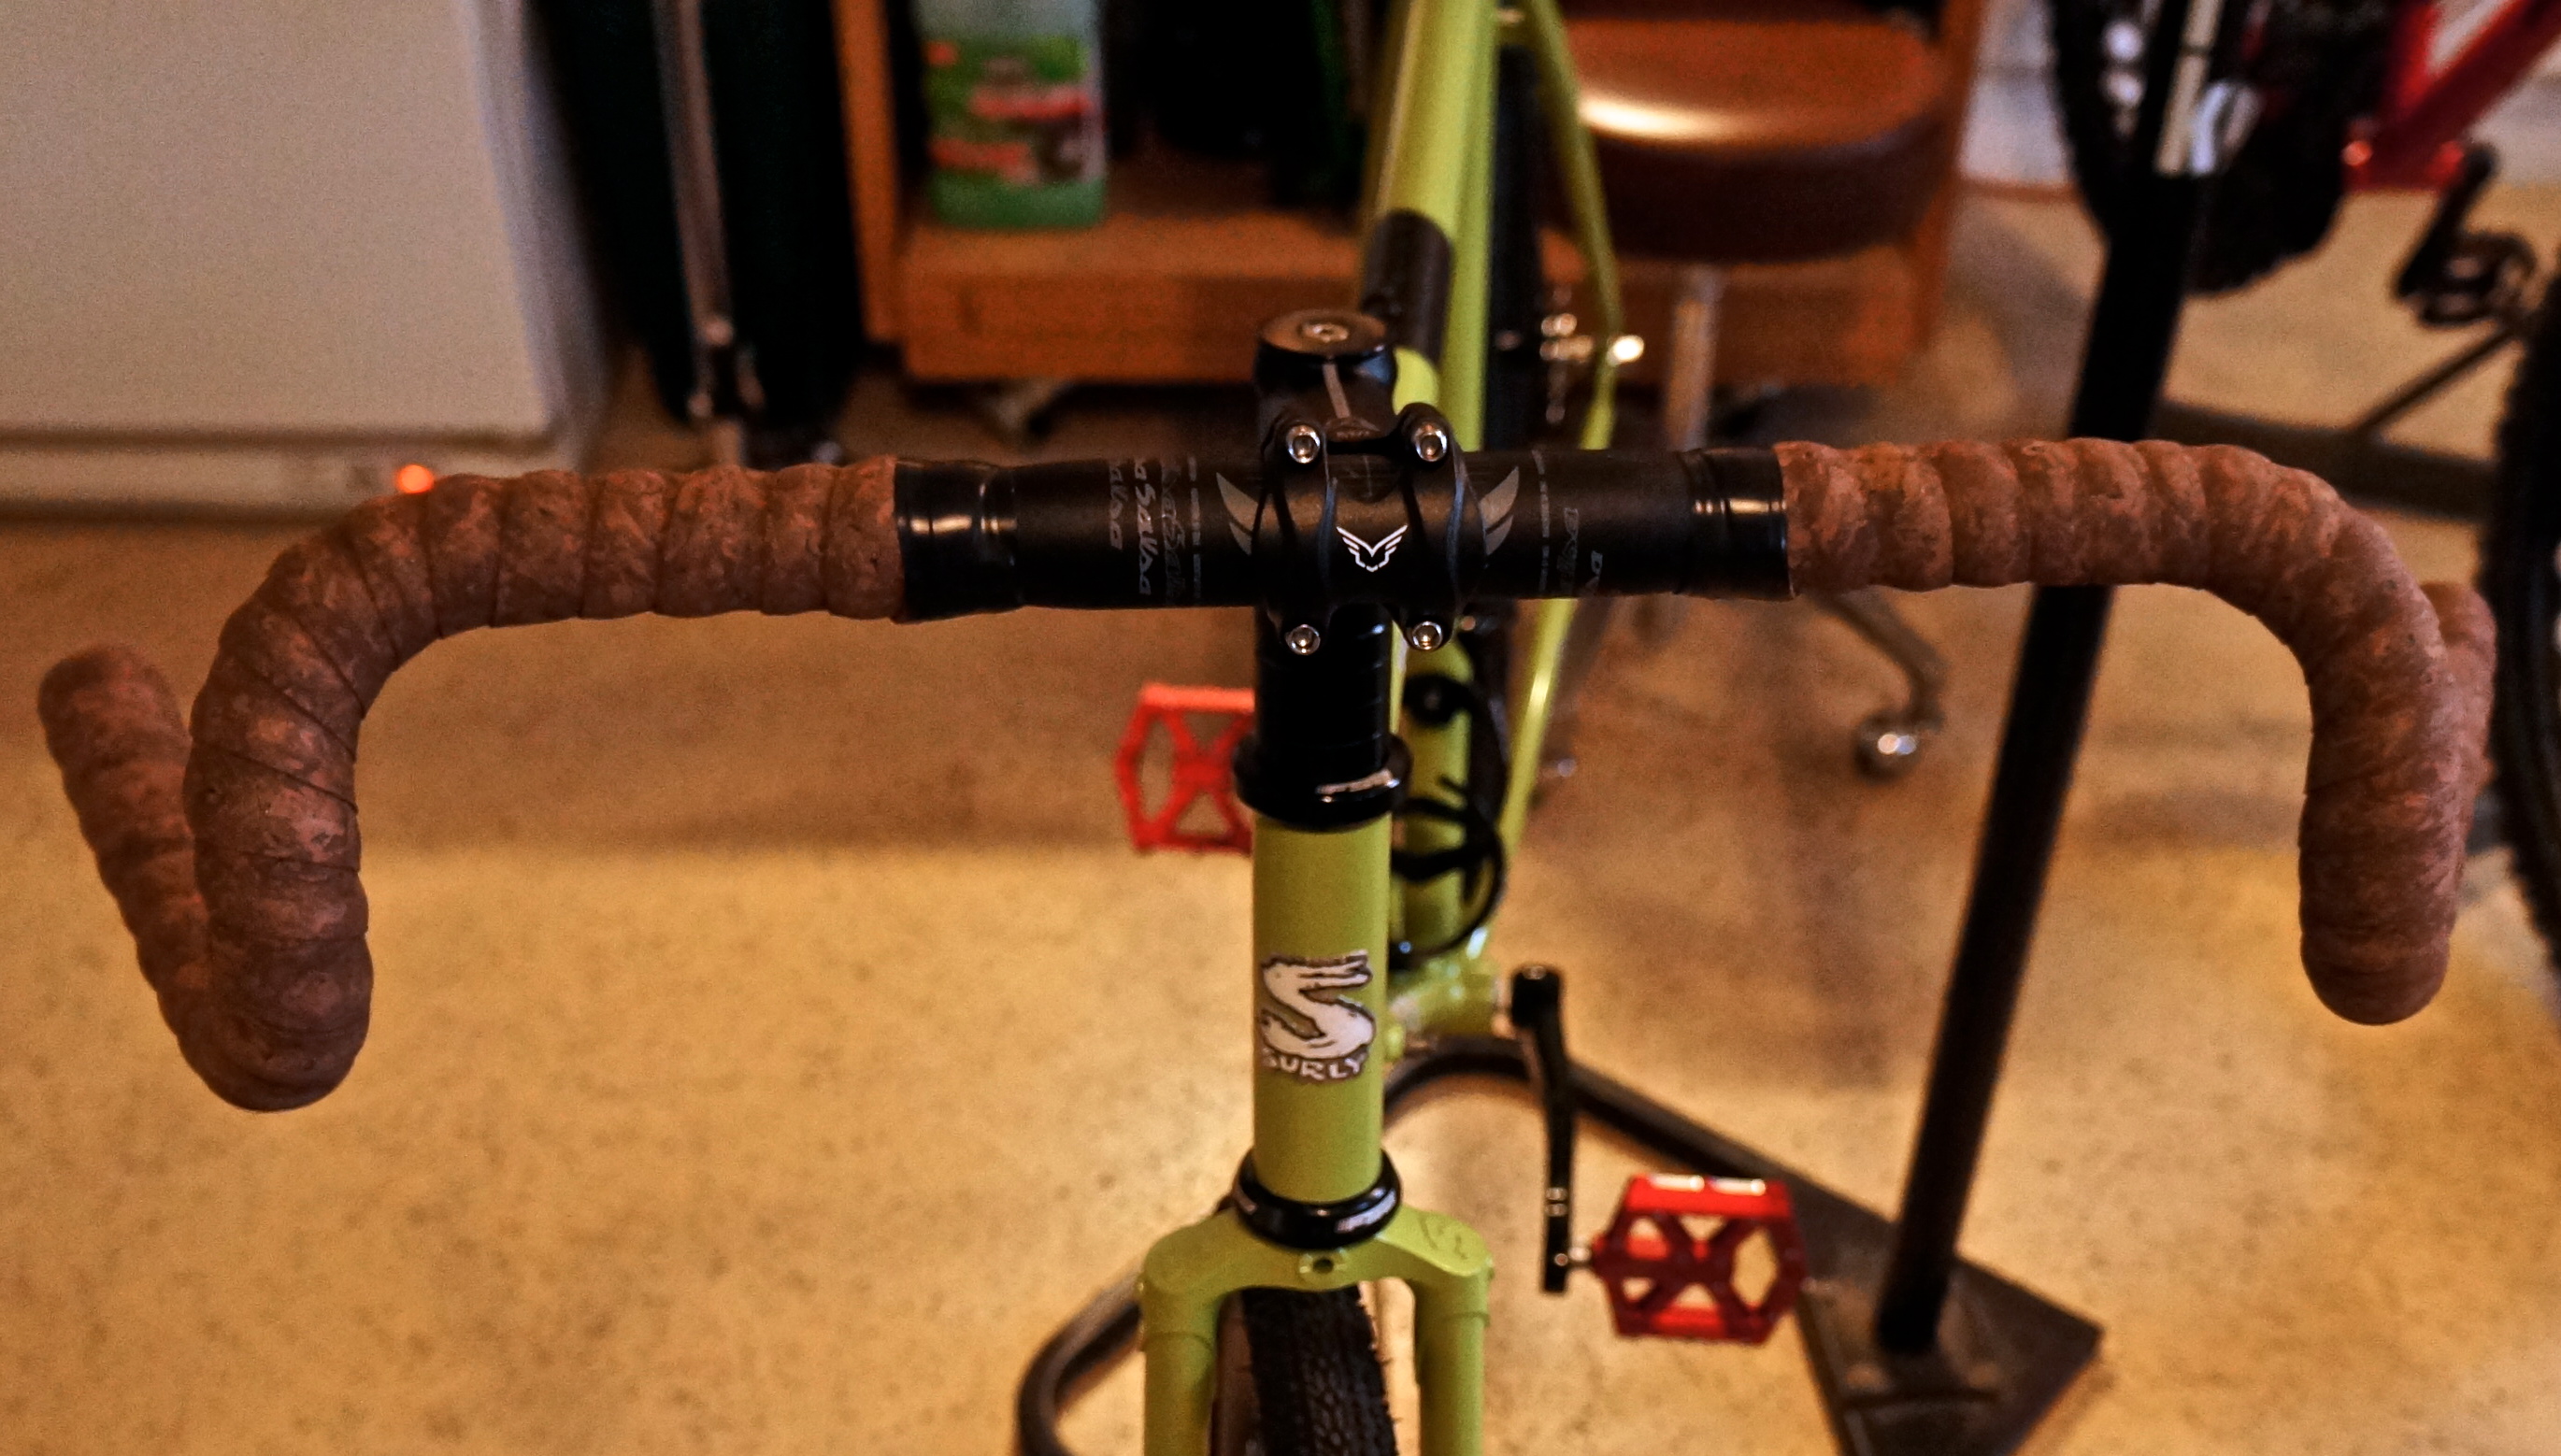
Cork brown just seemed to fit the look I was trying to achieve.
I like to start at the bottom of the handlebar and work my way up to the top. This way you get the shingle effect on the curves which keeps the tape tighter and neater looking.
The black electrician’s tape was temporarily used to protect the top tube from being struck from the unwrapped bar.
The Salsa Woodchipper bar is legendary for utility and comfort.
Shallow drop with lots of flair. The look is so retro…I love this bar.
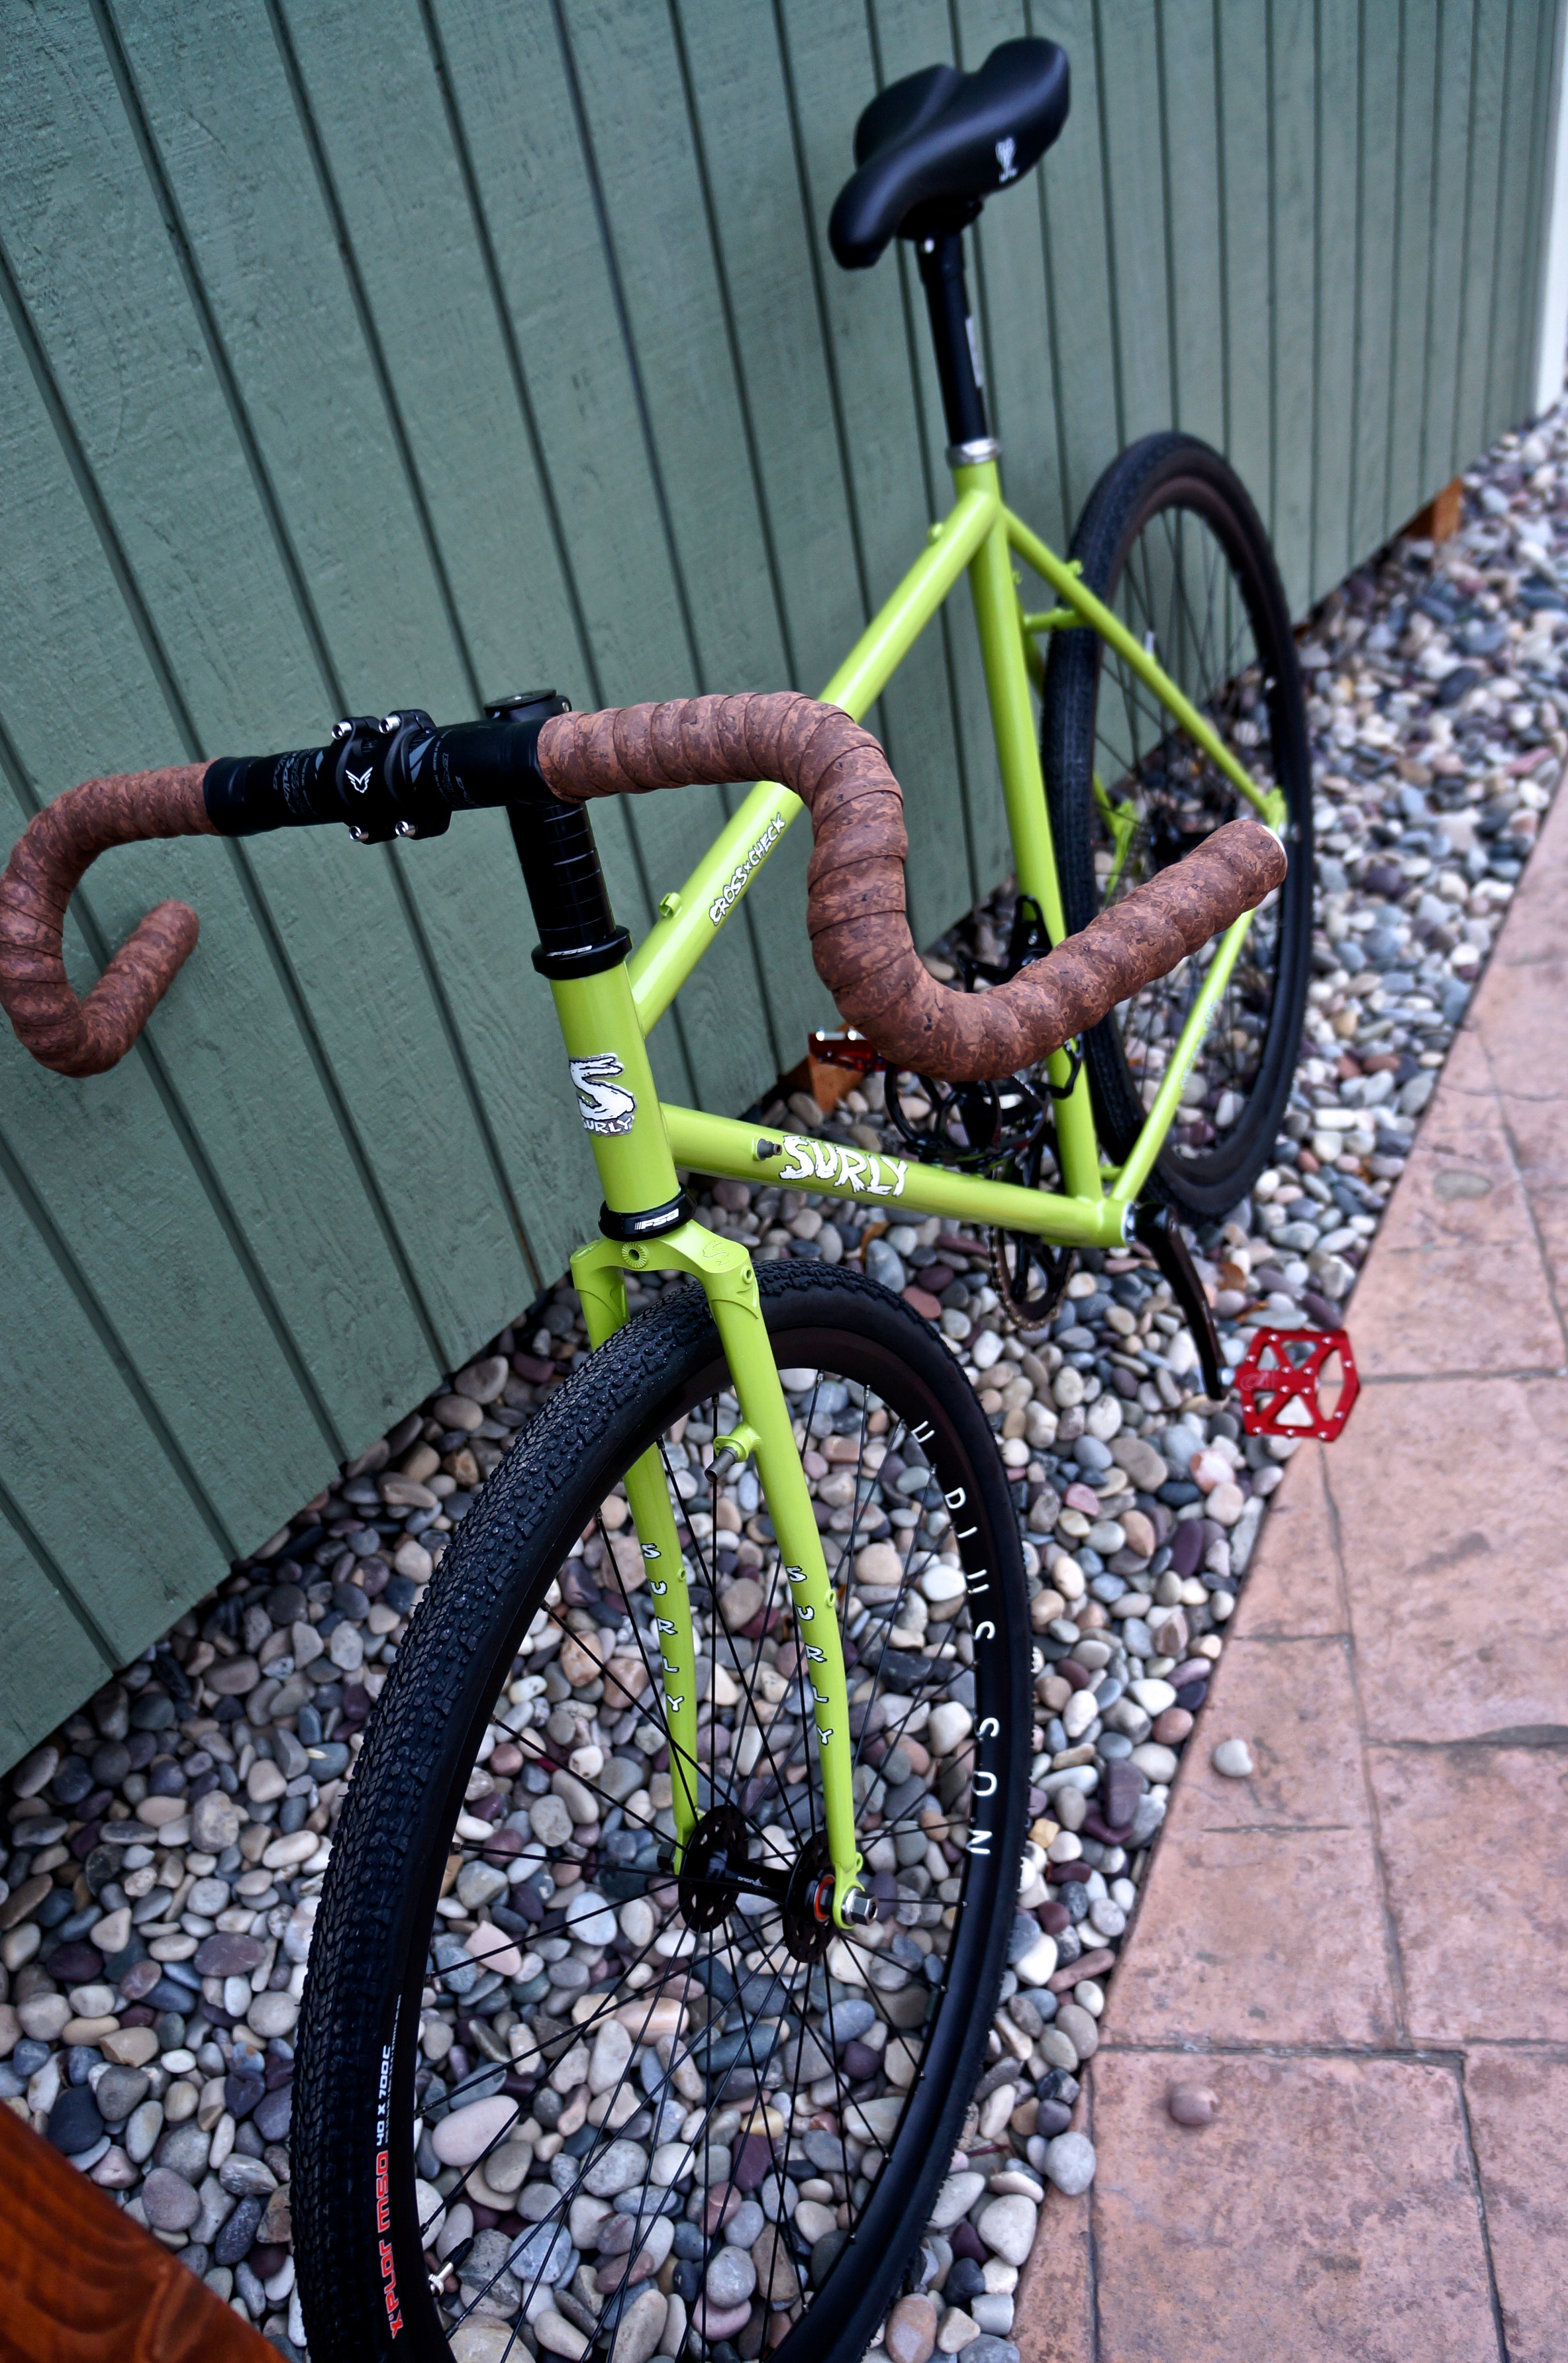
And, now for the completed project…

I am tempted to put a porter rack on the front for urban post office missions.
It weighs in at 21.9 lb. complete with water bottle cages and pedals. It is reasonably fast on the road and very well suited for broken surfaces or gravel off road riding. I’m happy with this!
Summary:
I wanted a simple, affordable, serviceable fixie able to handle urban assault missions and off road forays. I feel like I got it!
What I learned:
- It always cost more than you think it will. I was hoping for a sub thousand dollar build. In the end, I spent about $1,200 but am very pleased with the outcome.
- You can buy wheels cheaper than you can build wheels.
- Homemade tools can work well for occasional use.
- It is very satisfying to dream up a certain bicycle and then go about building it up. I love working on bikes. To me, it’s a lot of fun!

Pingback: What Your Bike Says About You | Sykose Extreme Sports News